


News & Events
News & Events News & Events News & Events News & Events News & Events
Latest Technical Documents
Latest Technical Documents Latest Technical Documents Latest Technical Documents Latest Technical Documents Latest Technical Documents
Product Families
Product Families Product Families Product Families Product Families Product Families
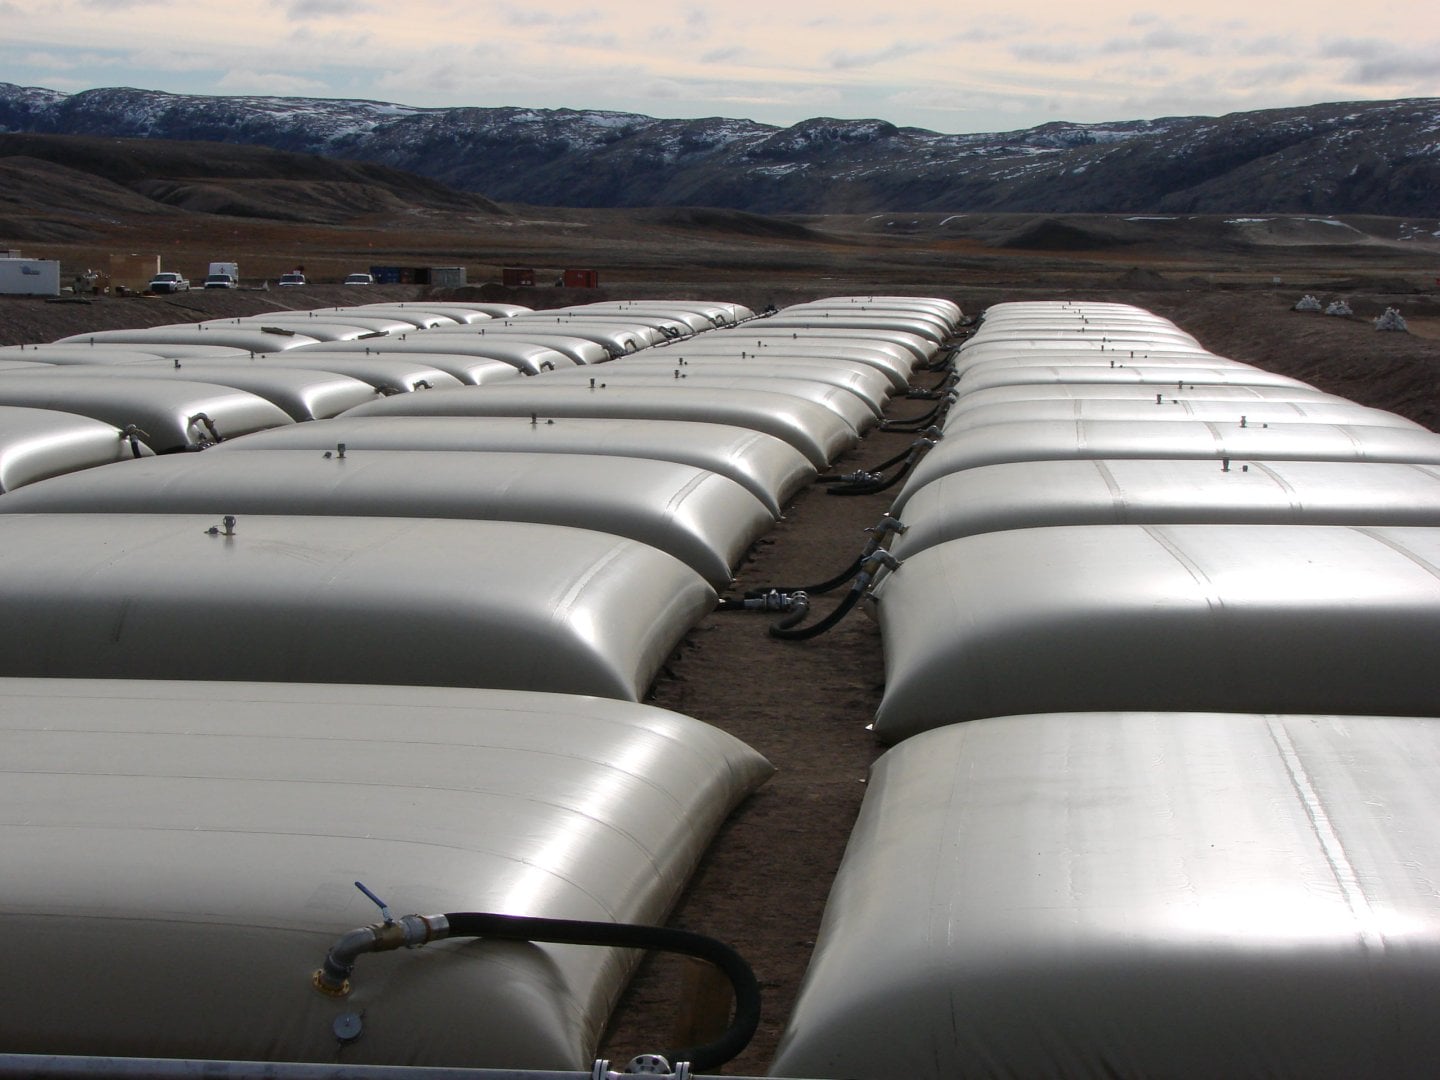
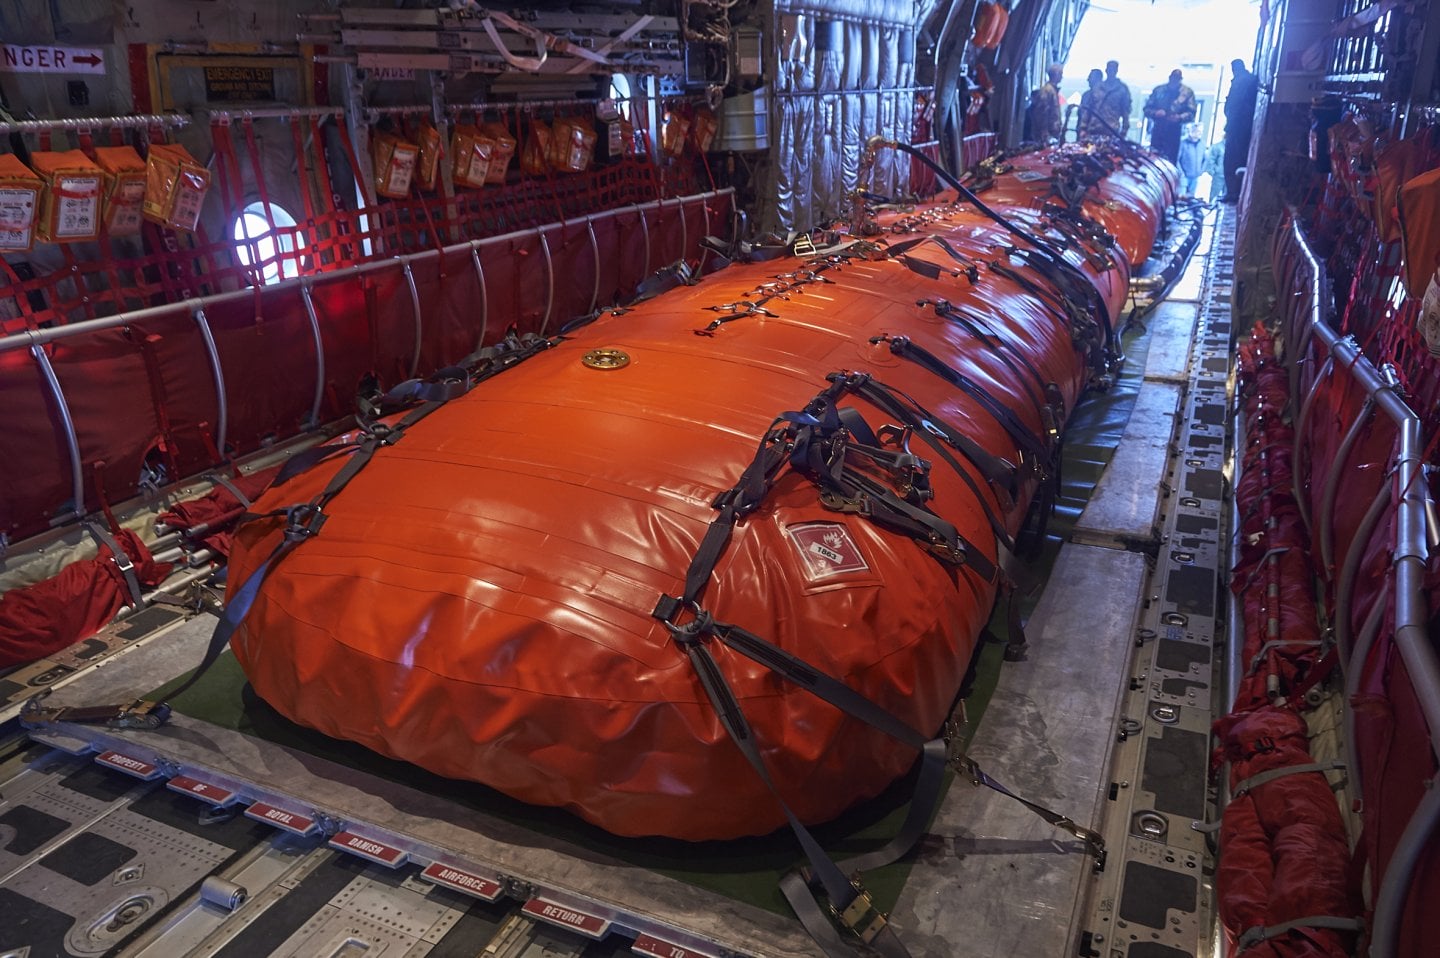
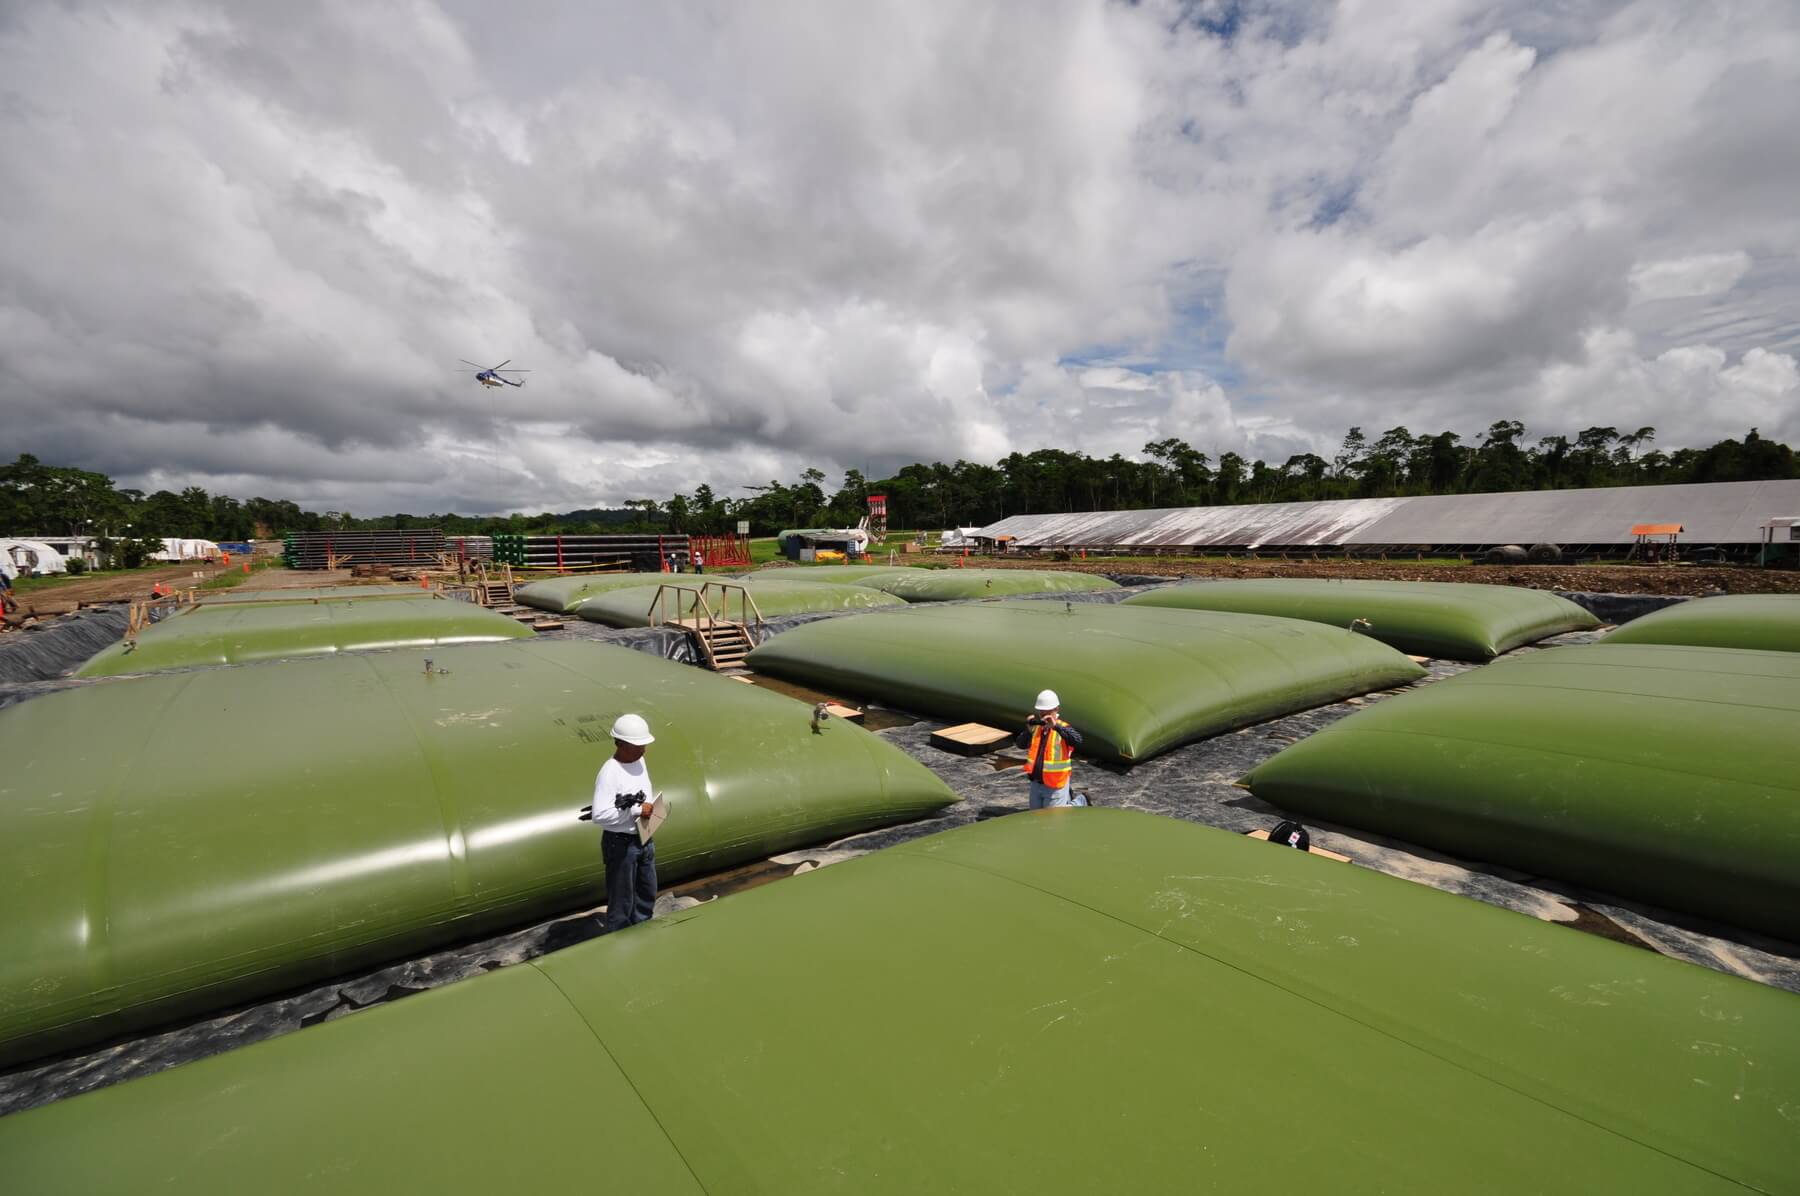
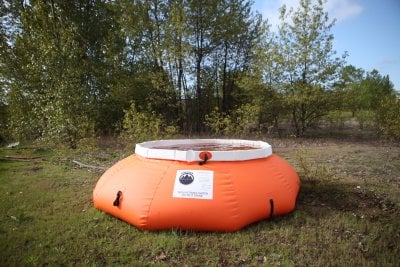
Innovative collapsible fuel transport solutions perfect for hauling fuel to remote sites anywhere in the world.

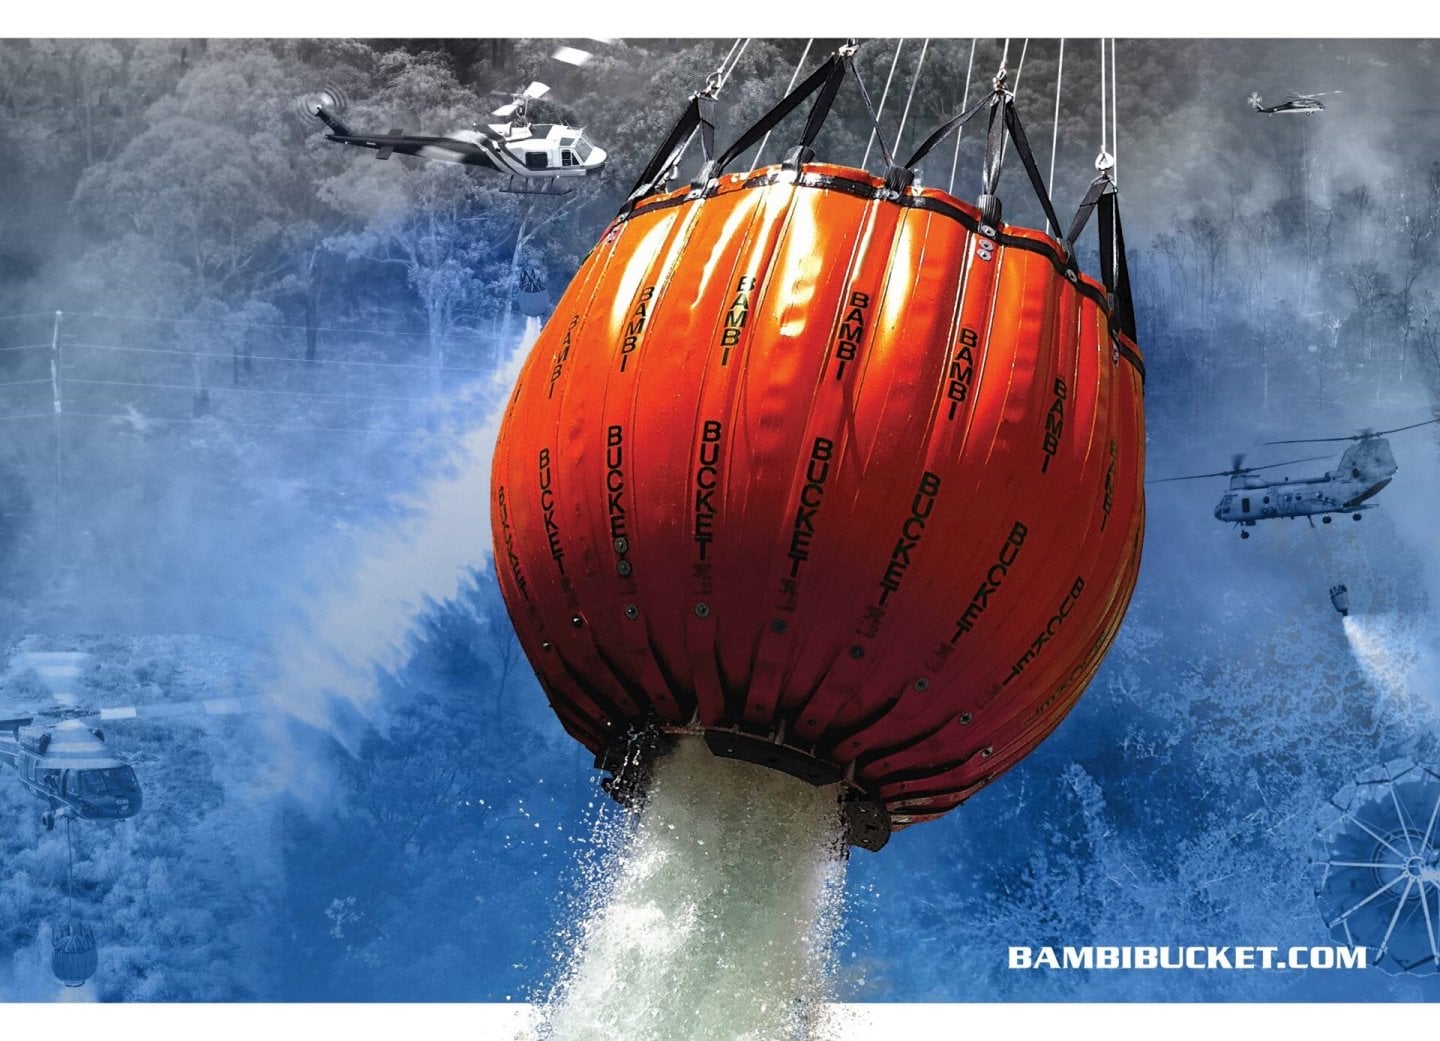
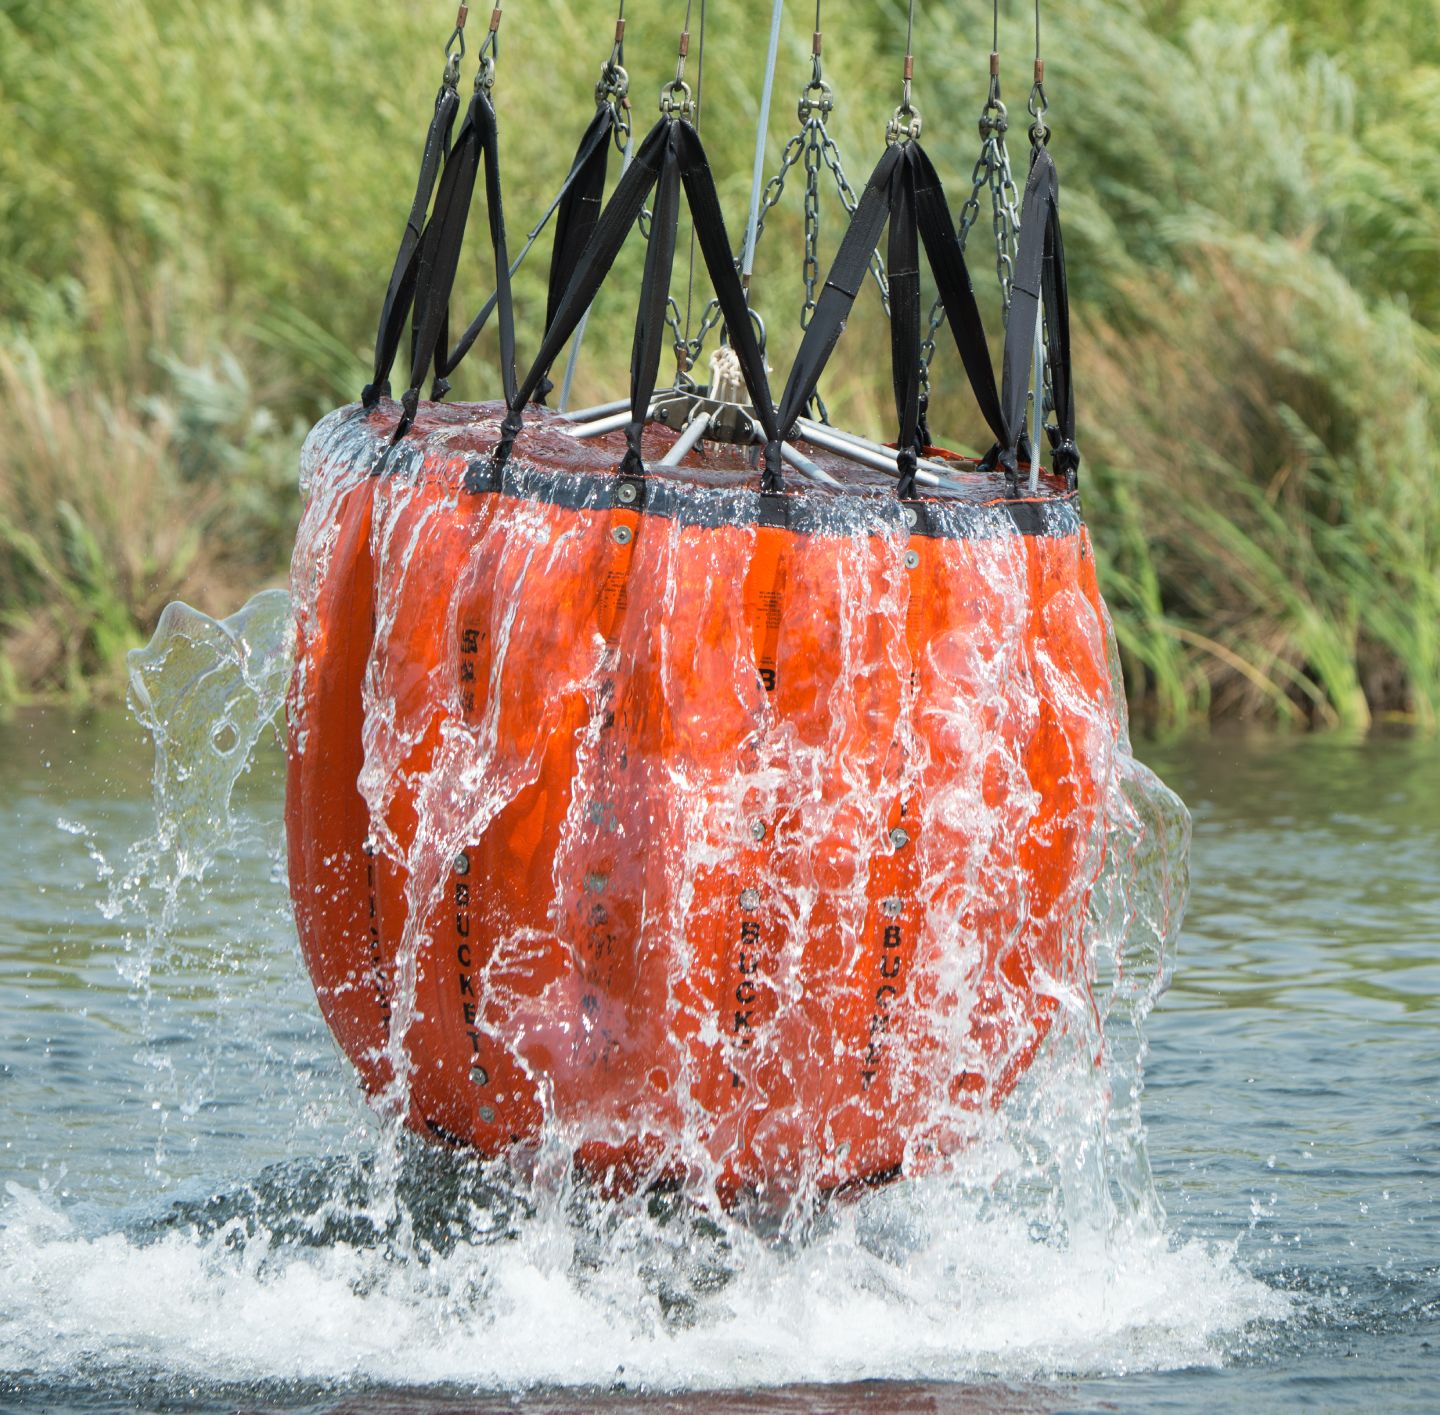
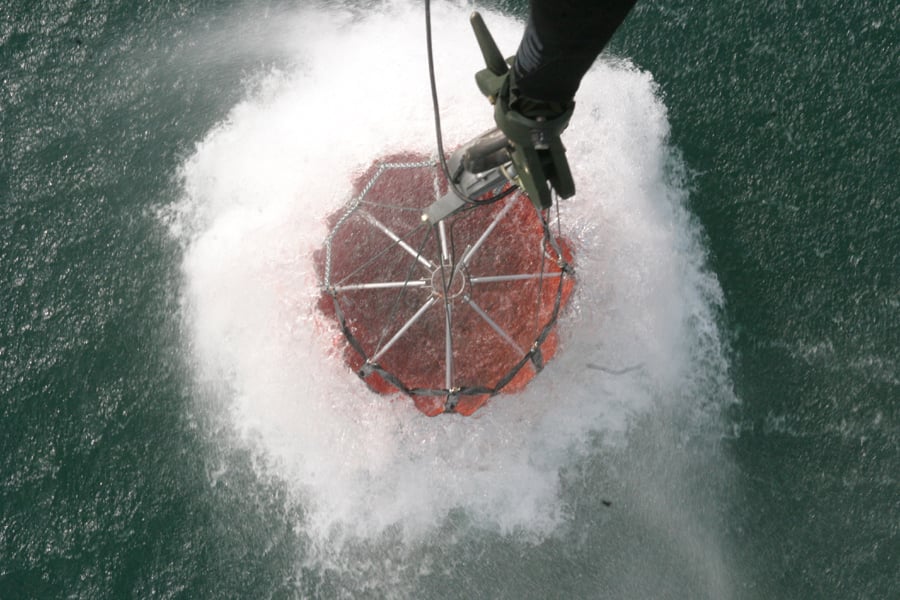
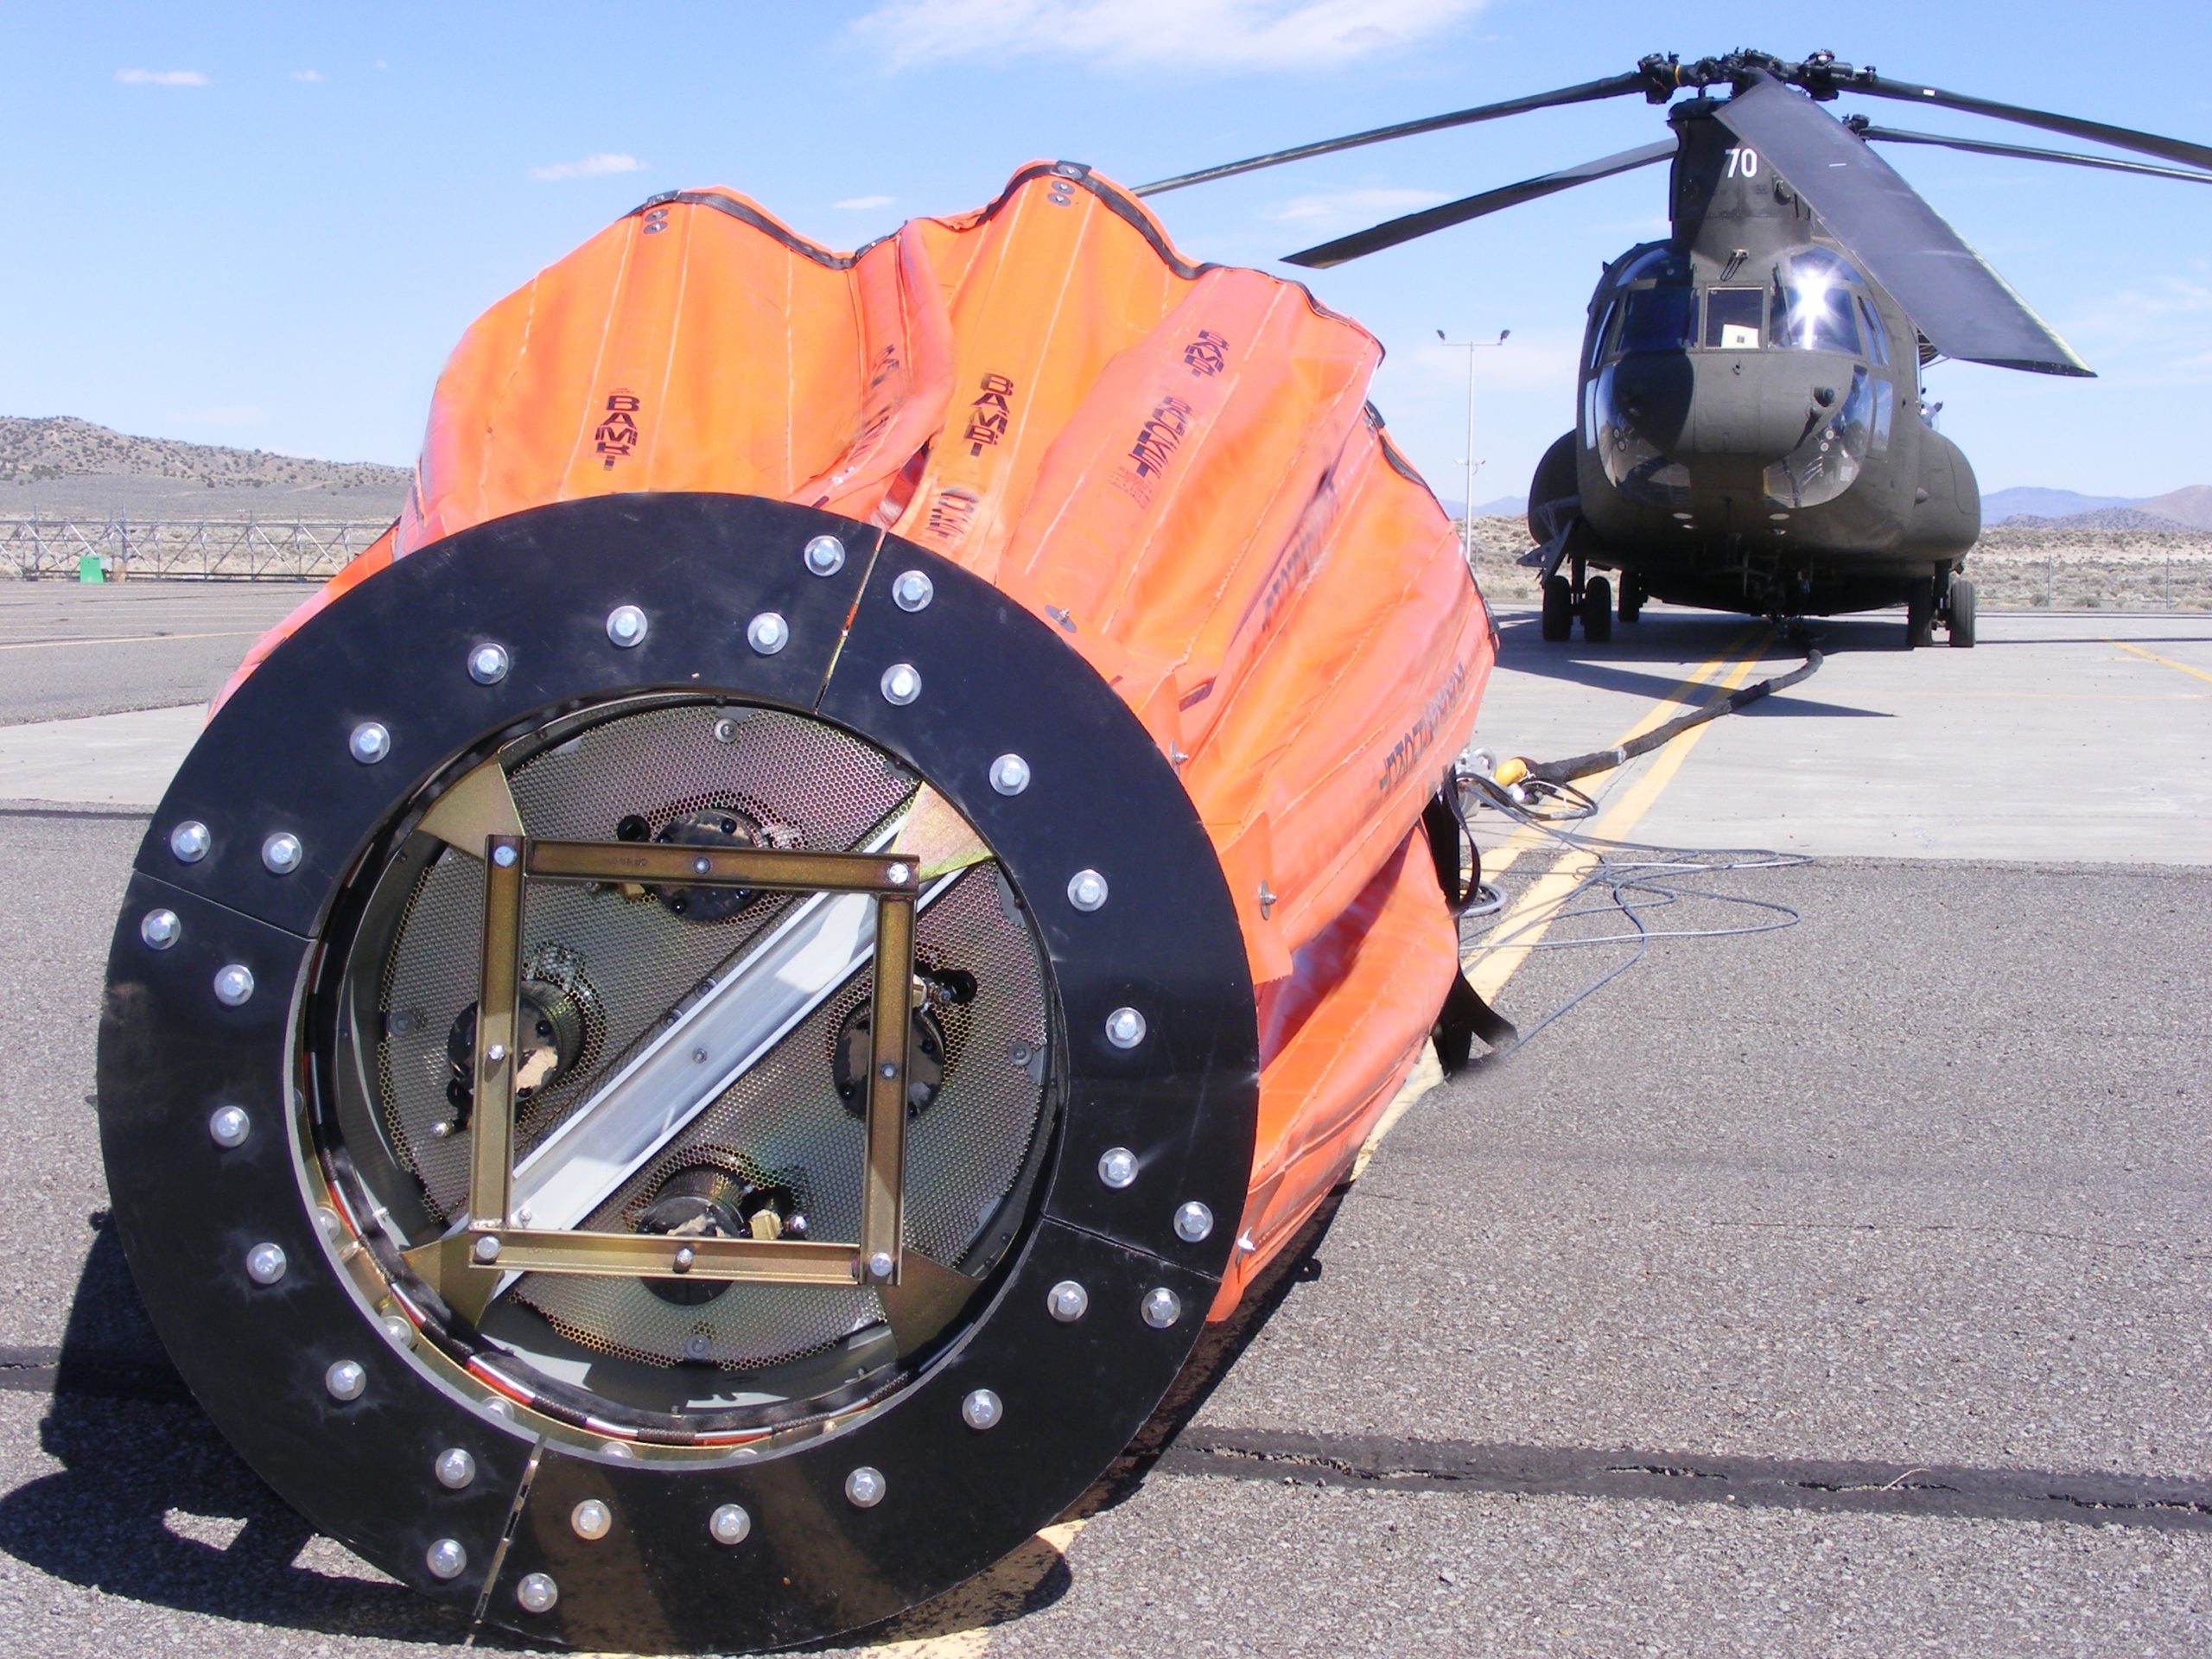
Bambi Bucket, The ultimate aerial firefighter. Fighting fires with strength and precision around the globe

Fire Ignition dispensers and plastic spheres which offer versatility and safety for effective burn operations.
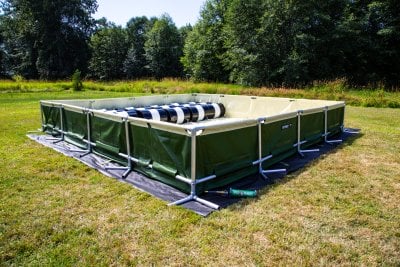
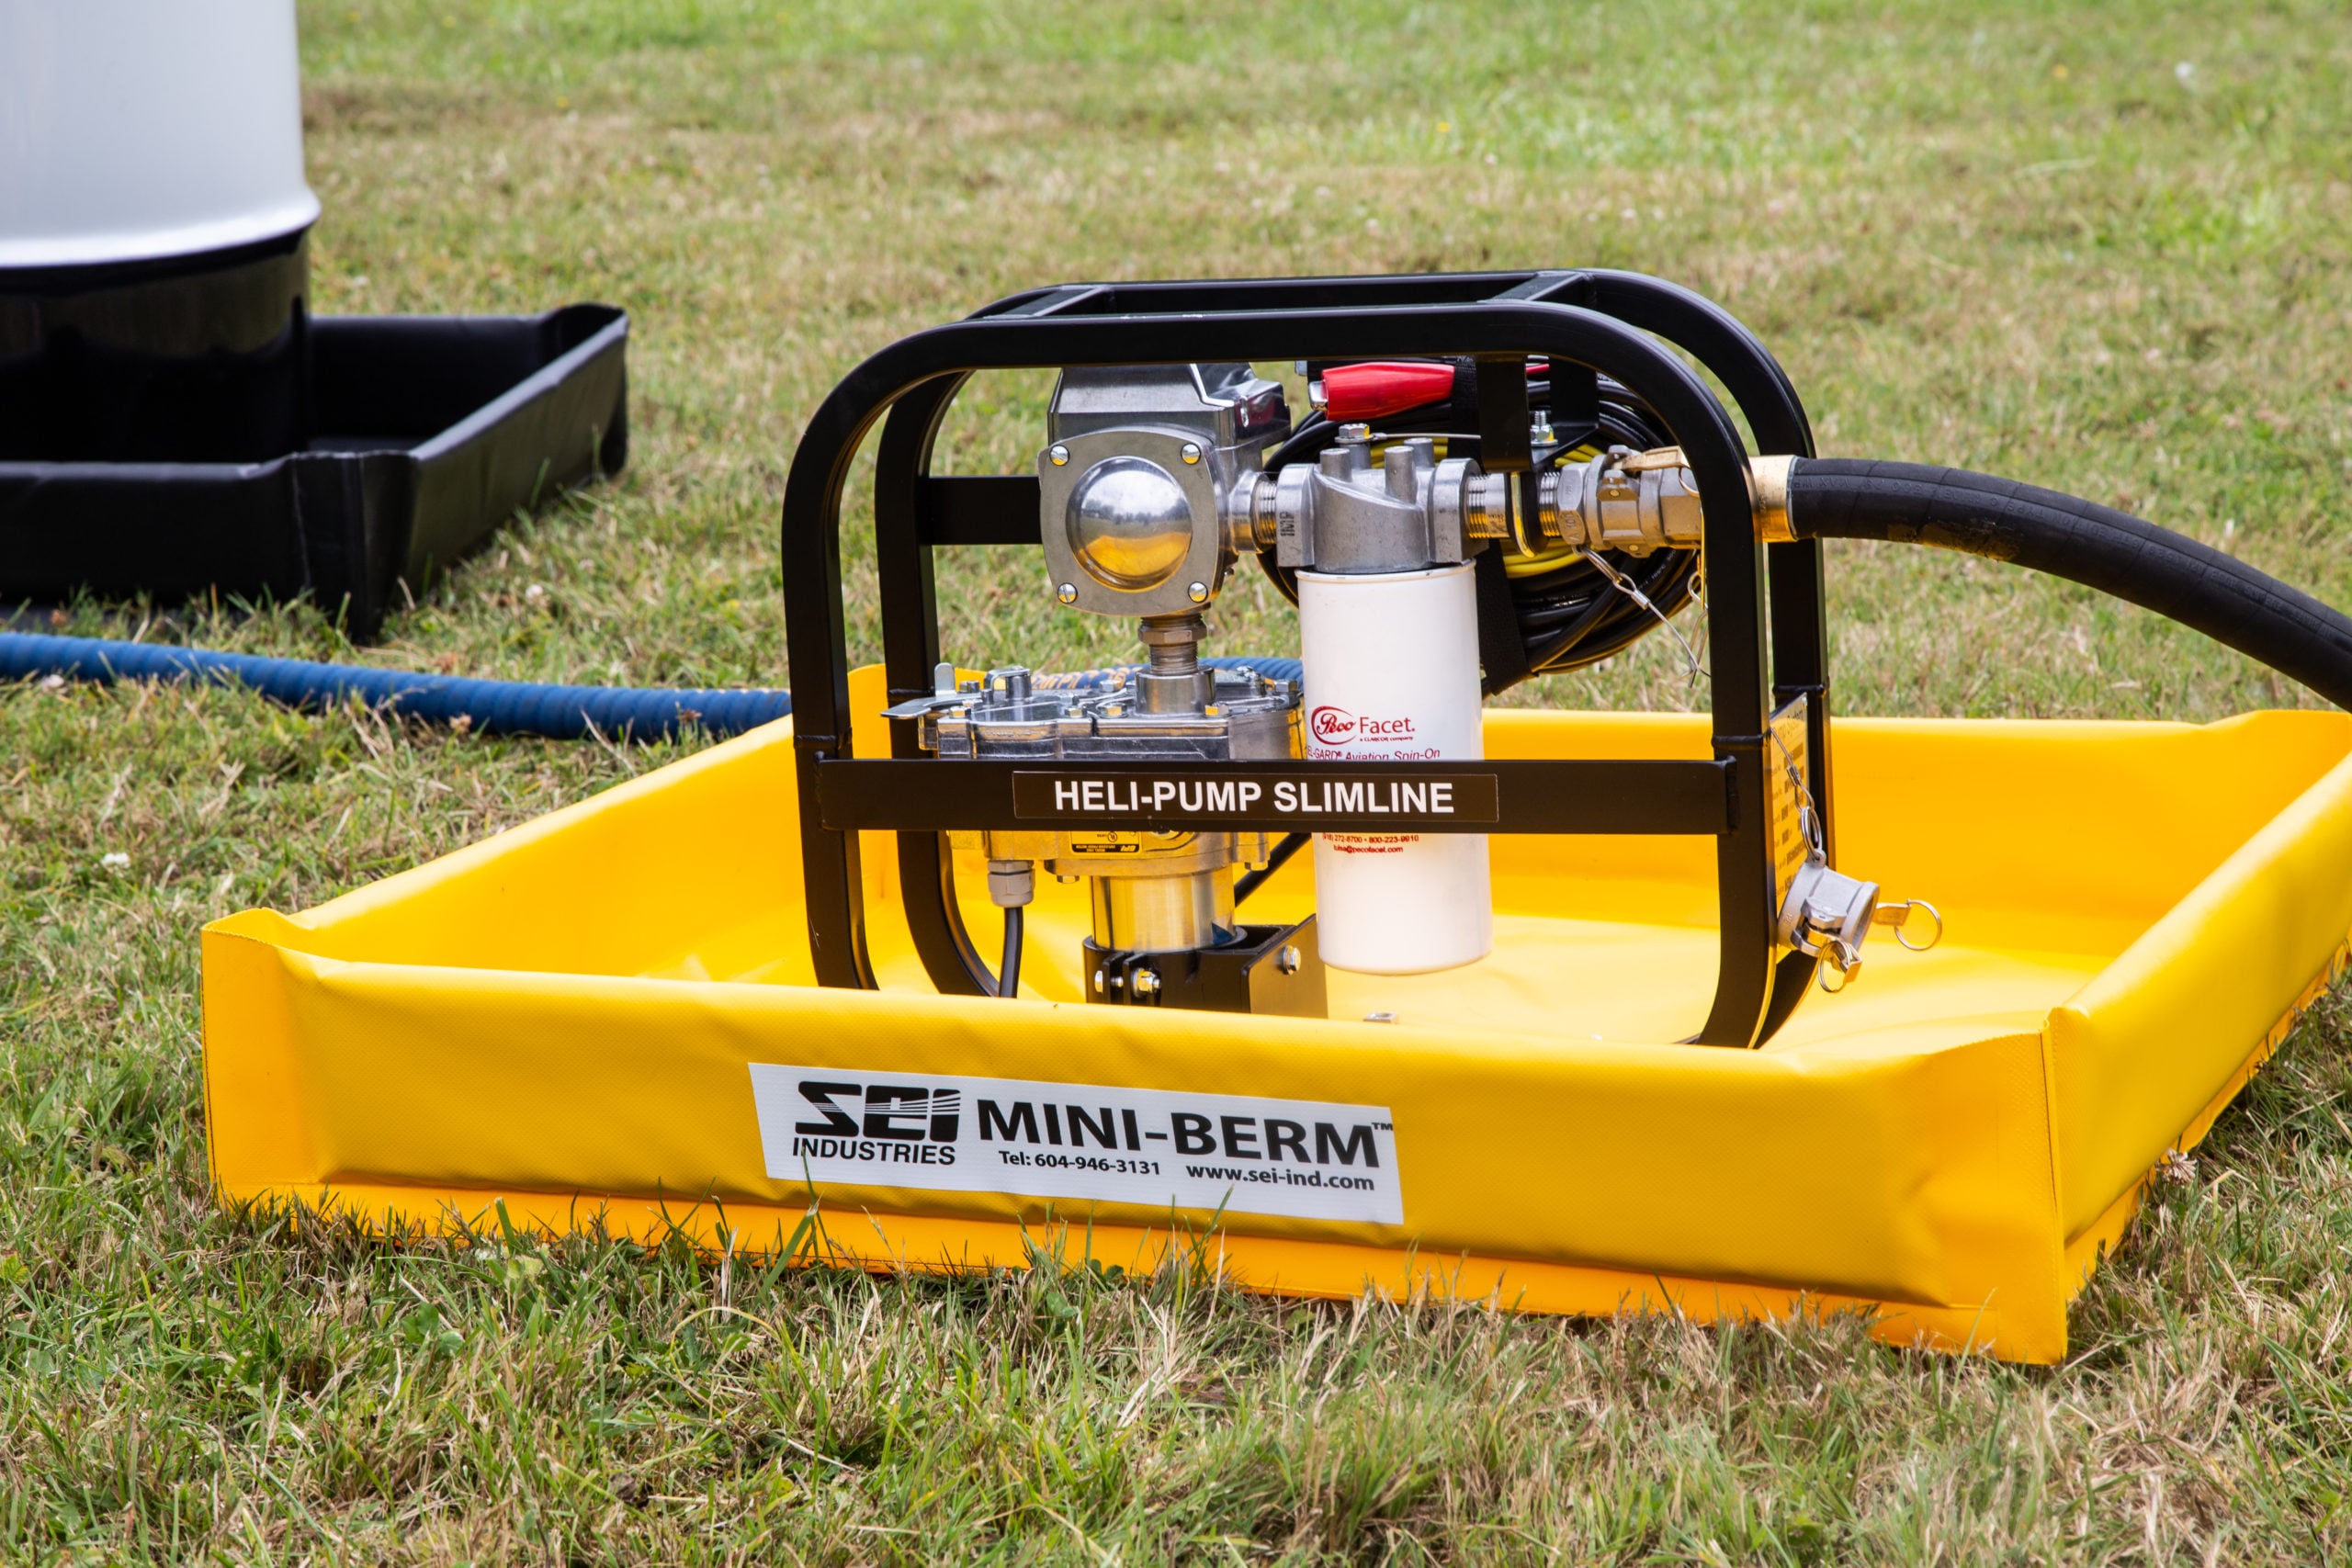
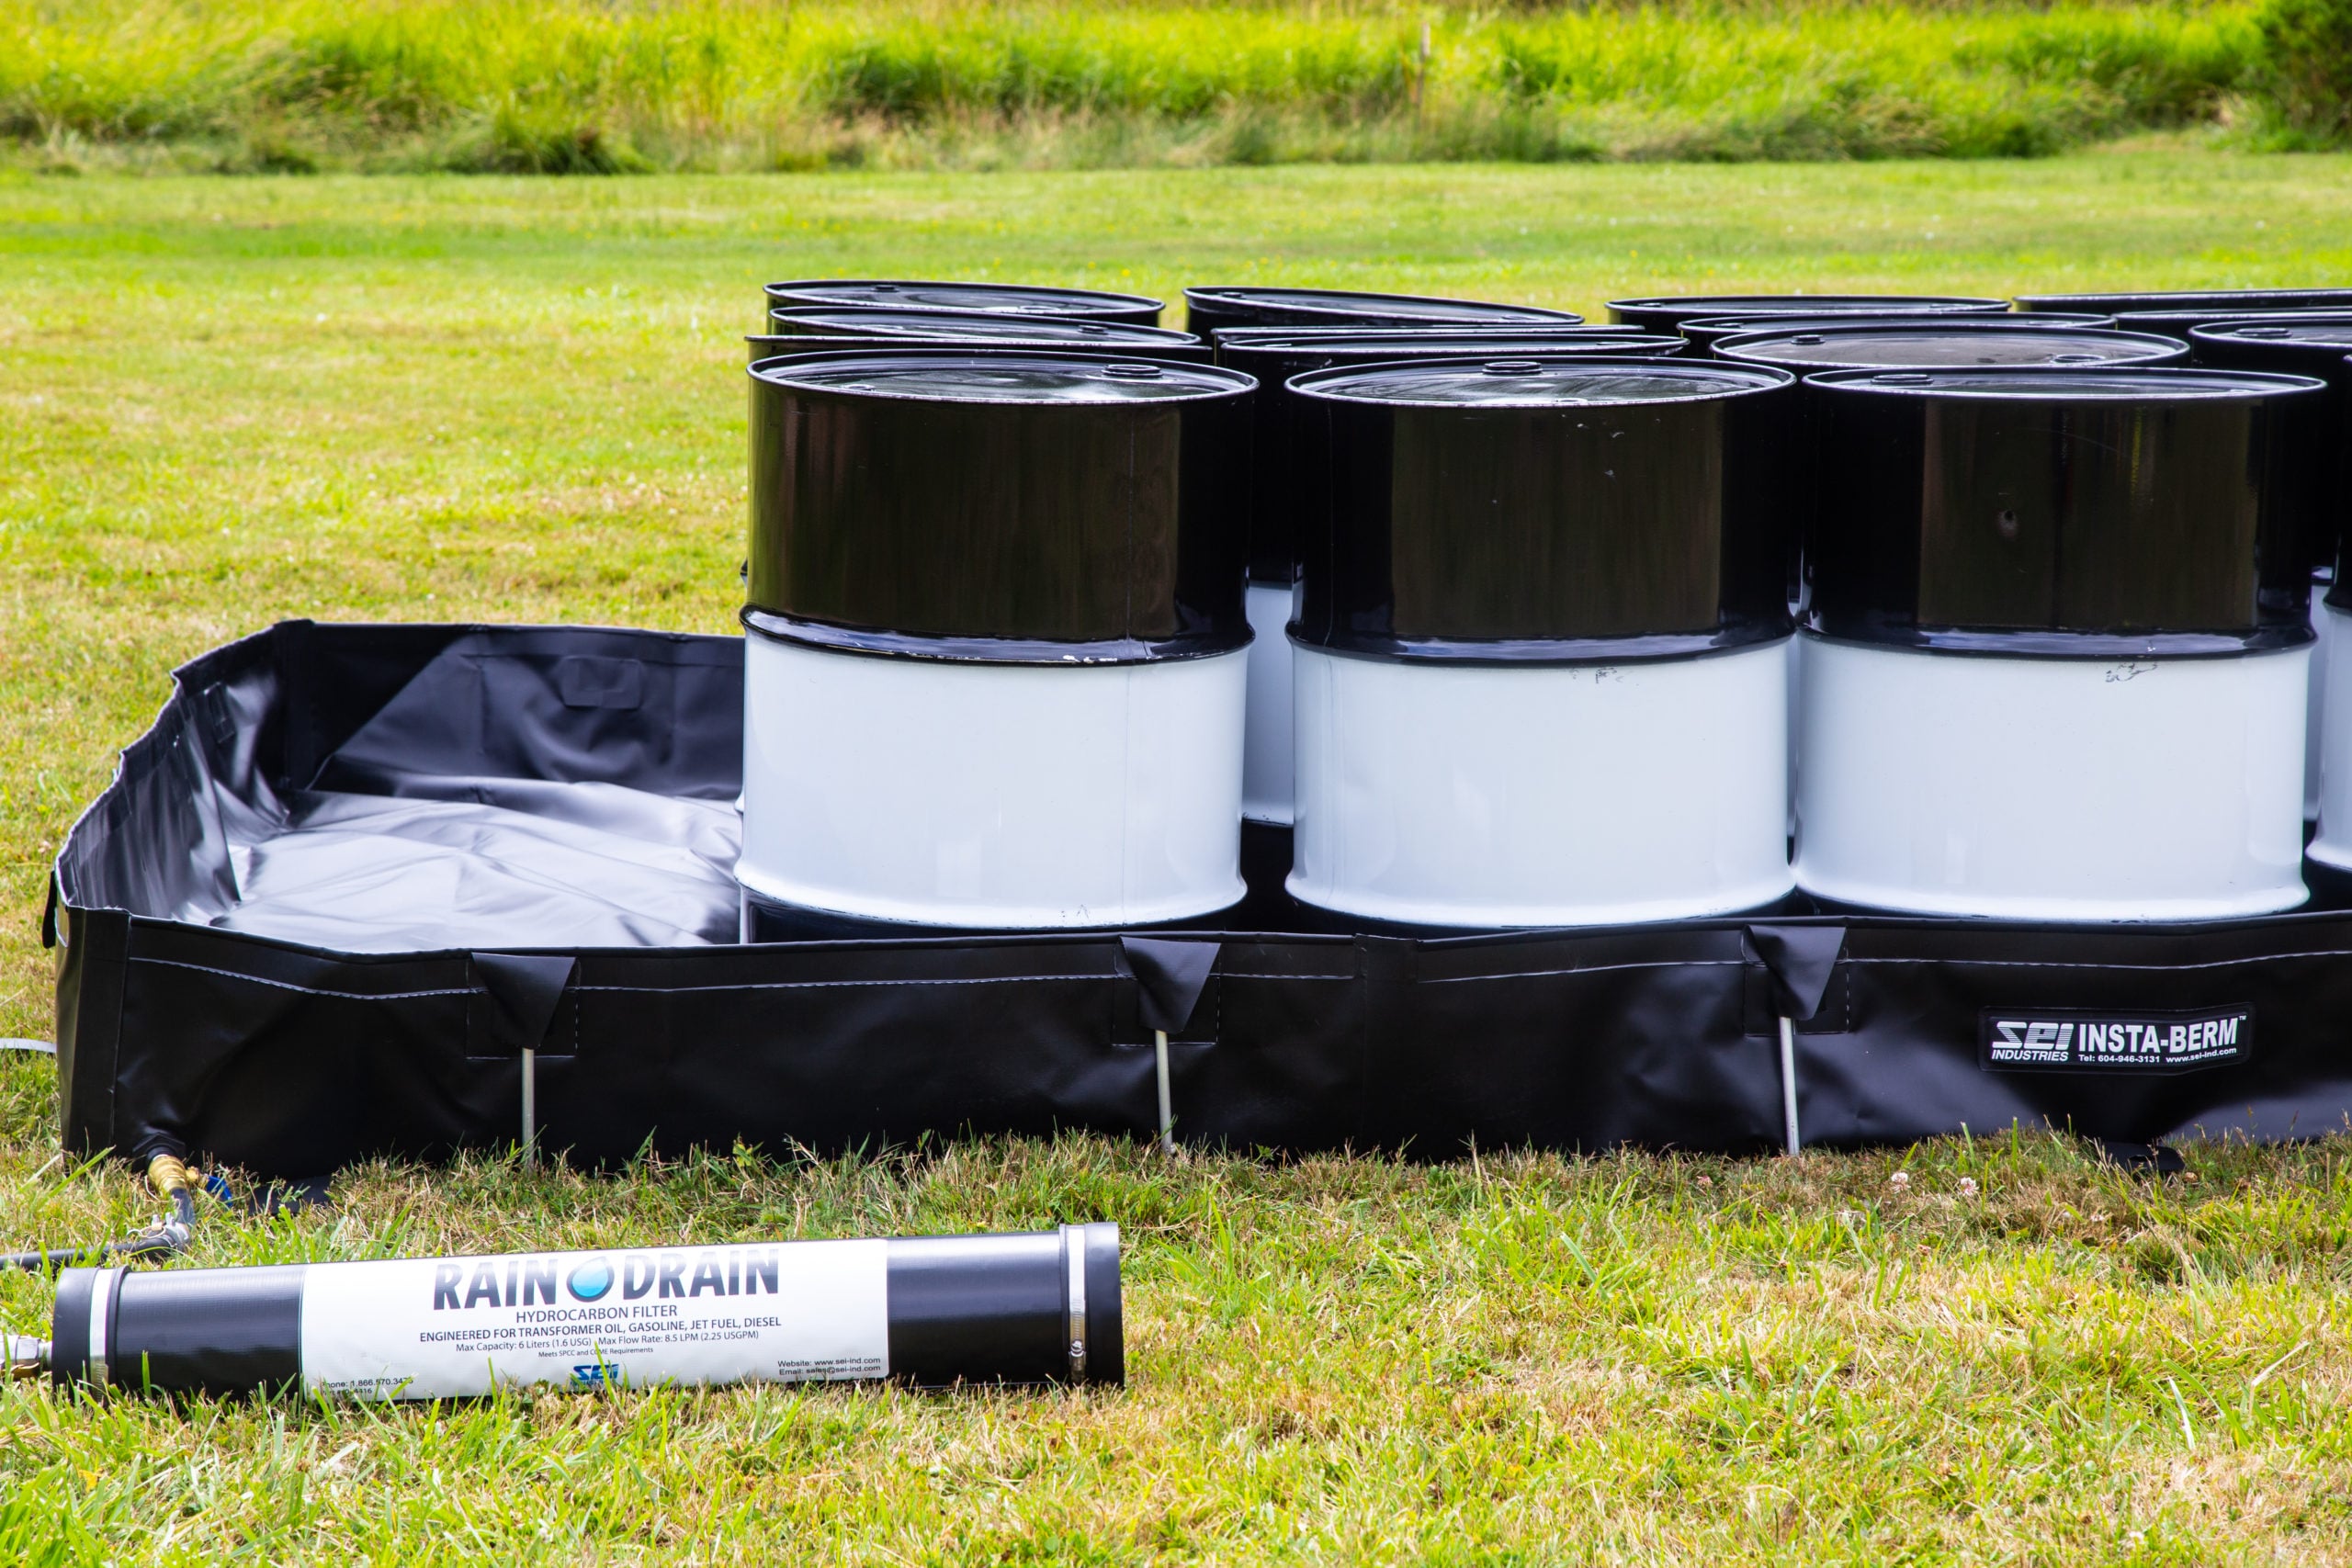
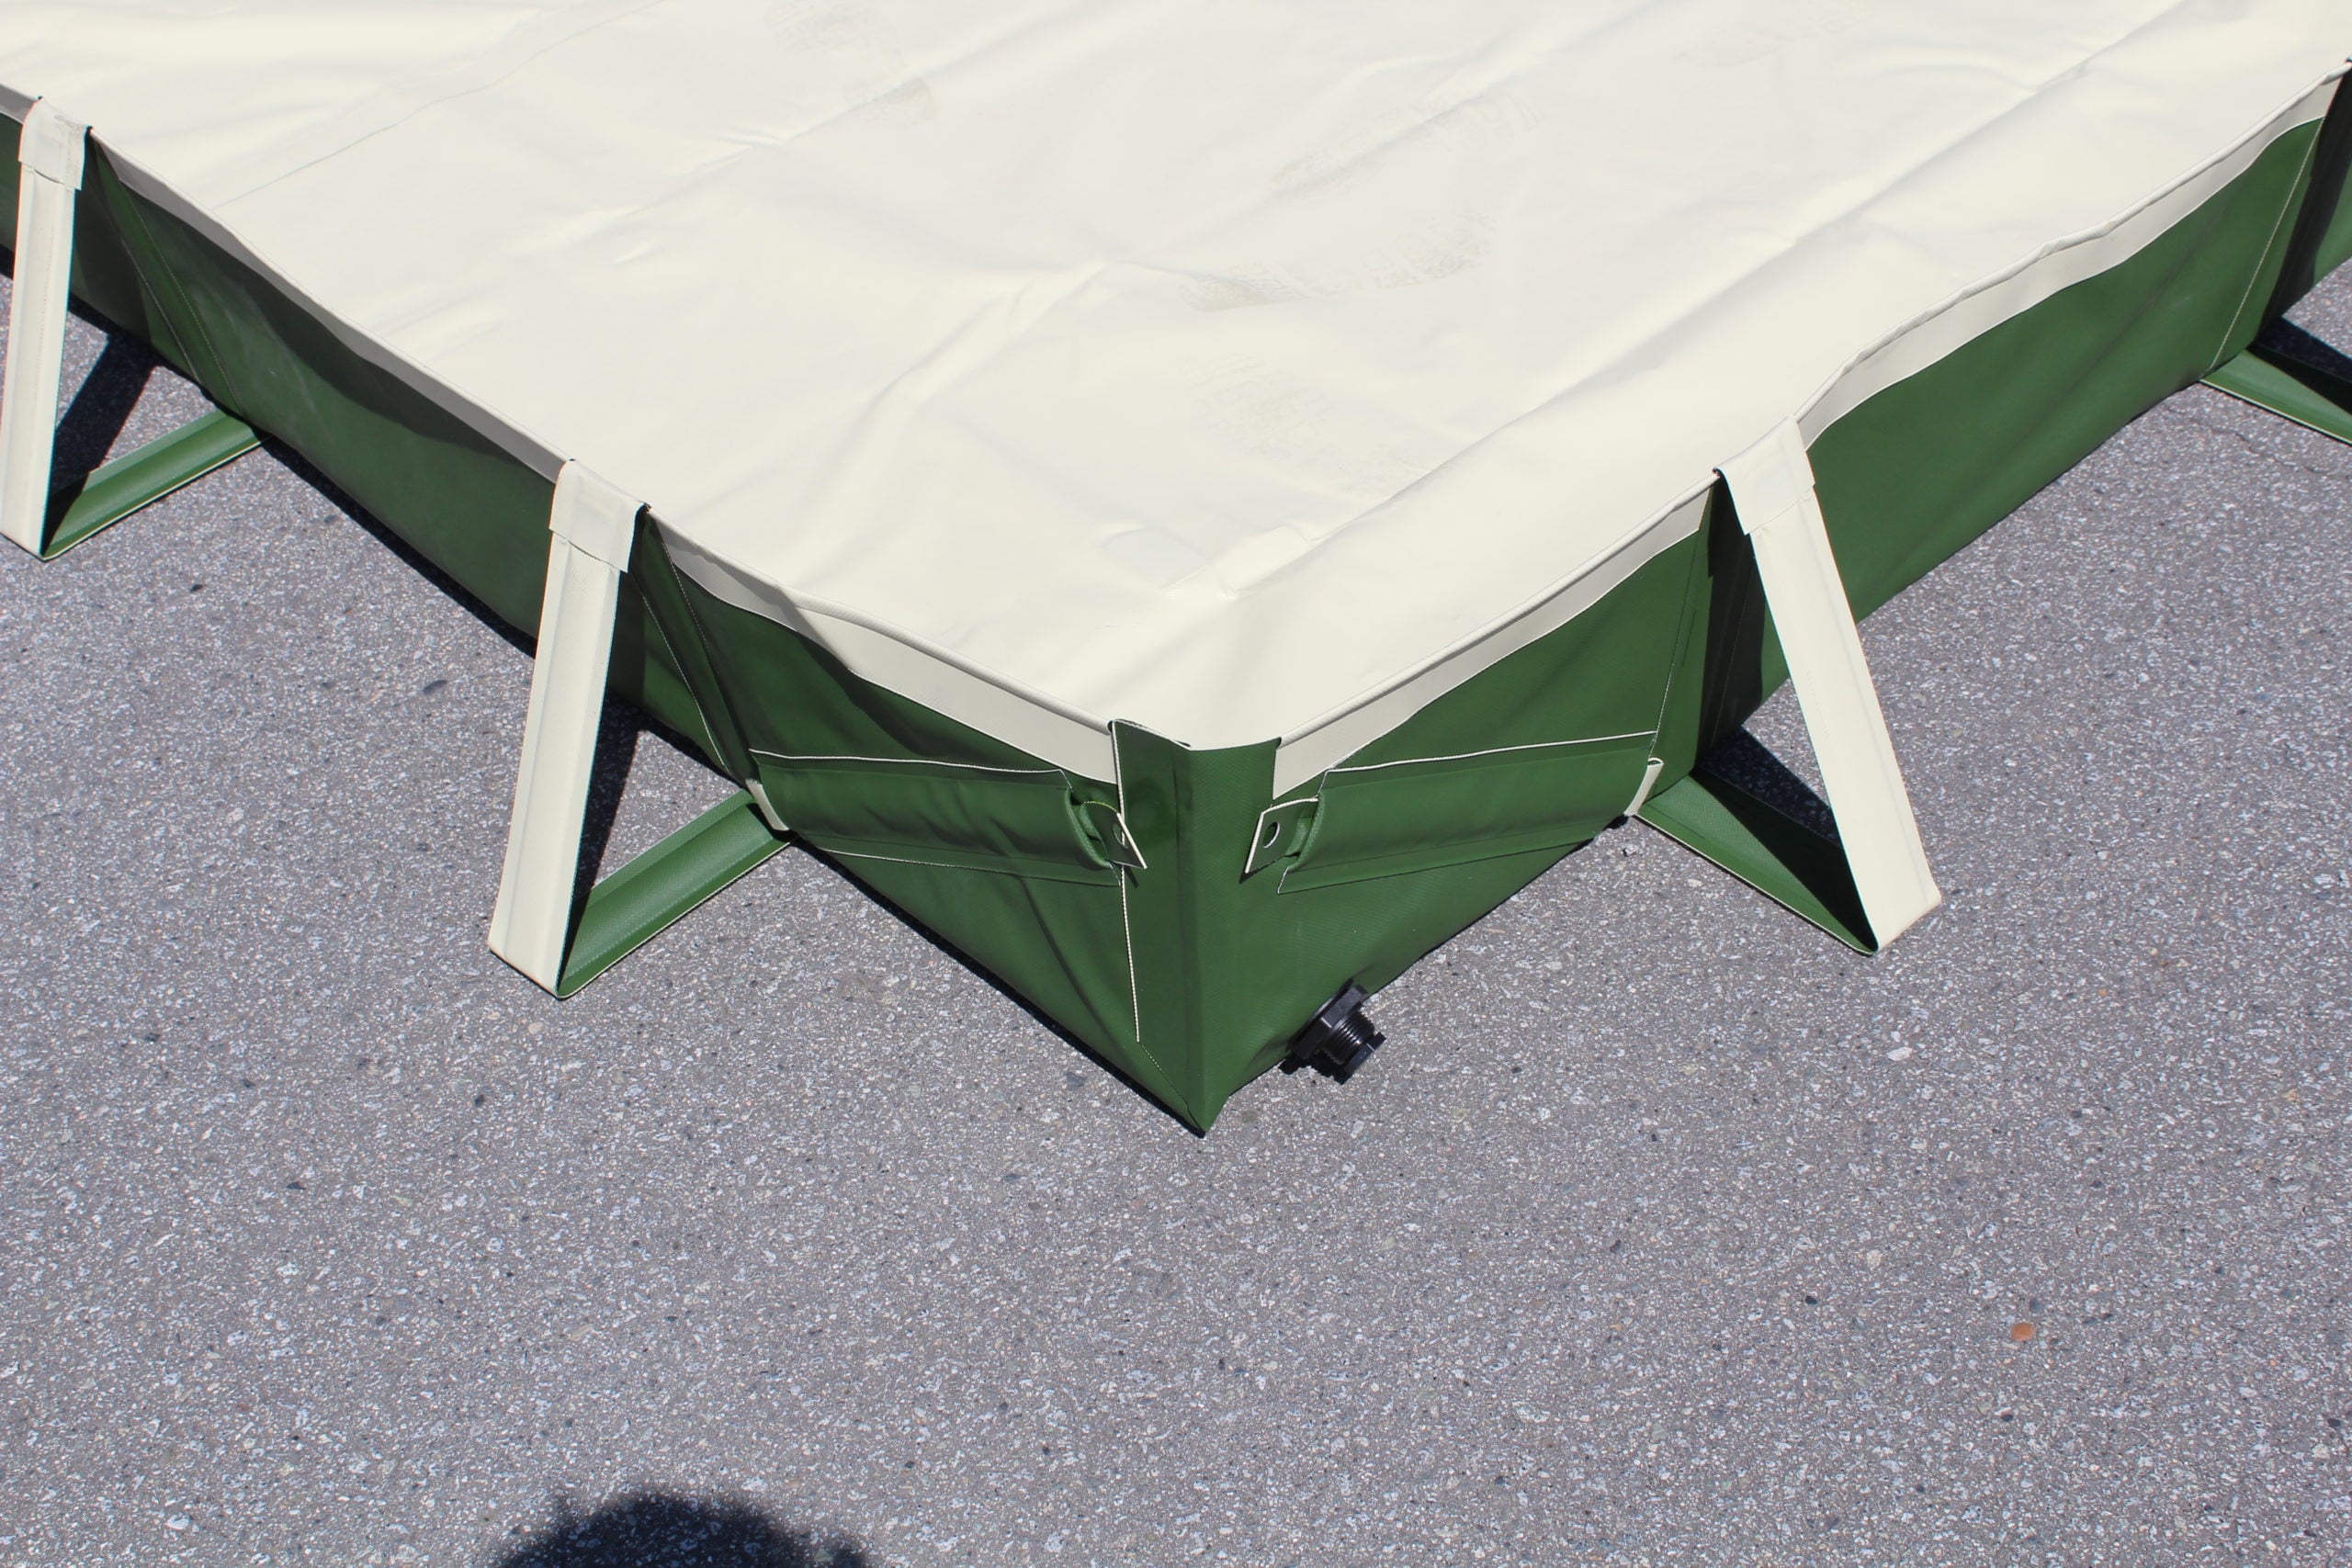
Mini-Berm, Insta-Berm, Ride Side Berm and more. Heavy duty spill containment solutions for any environment.
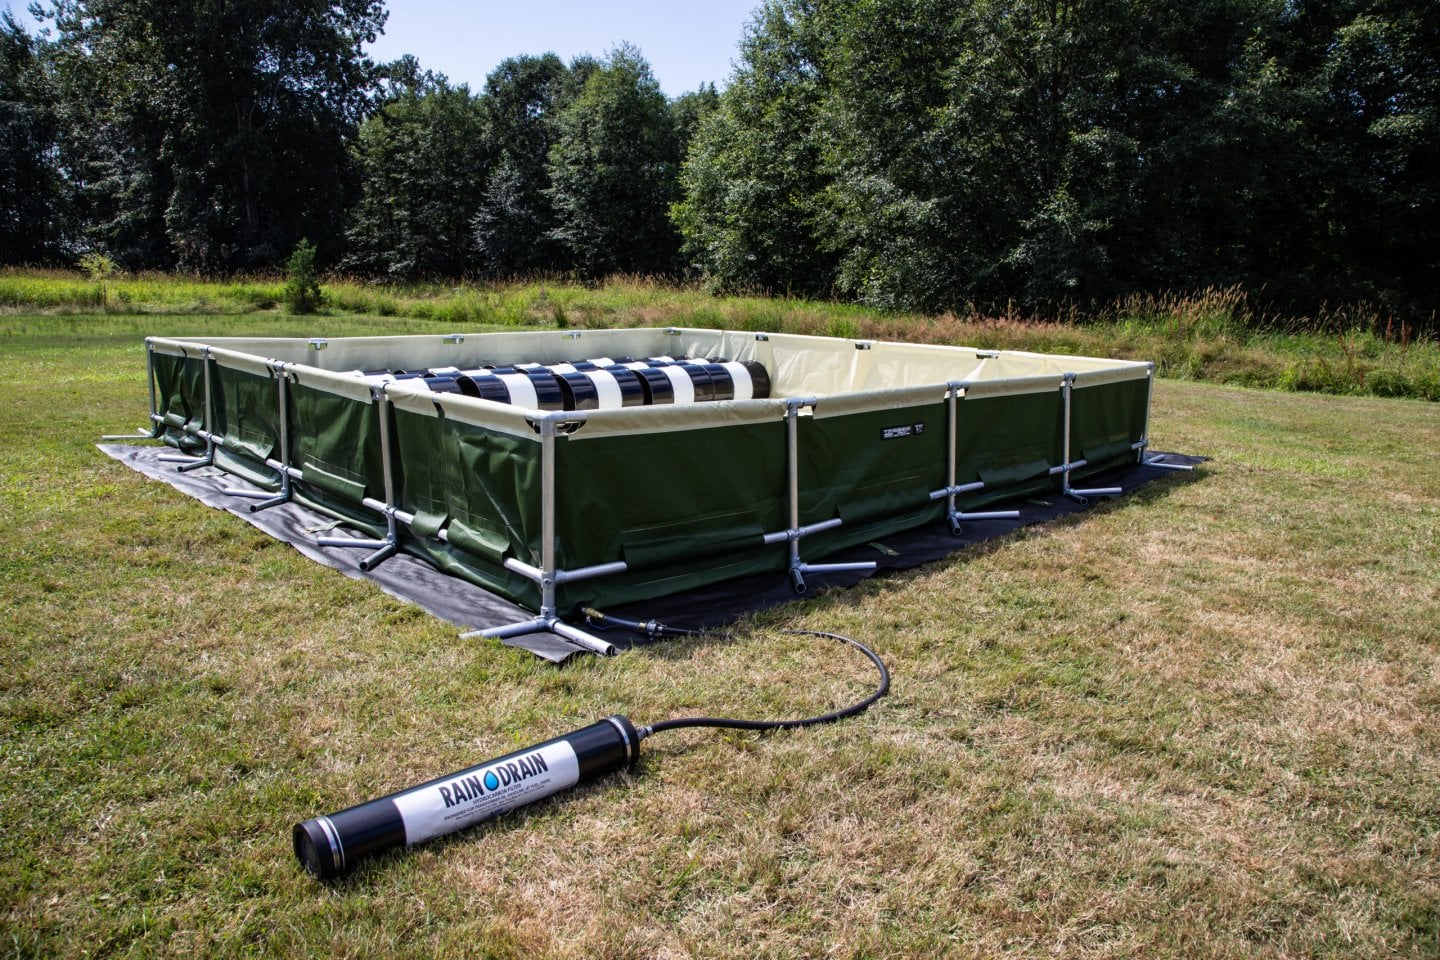
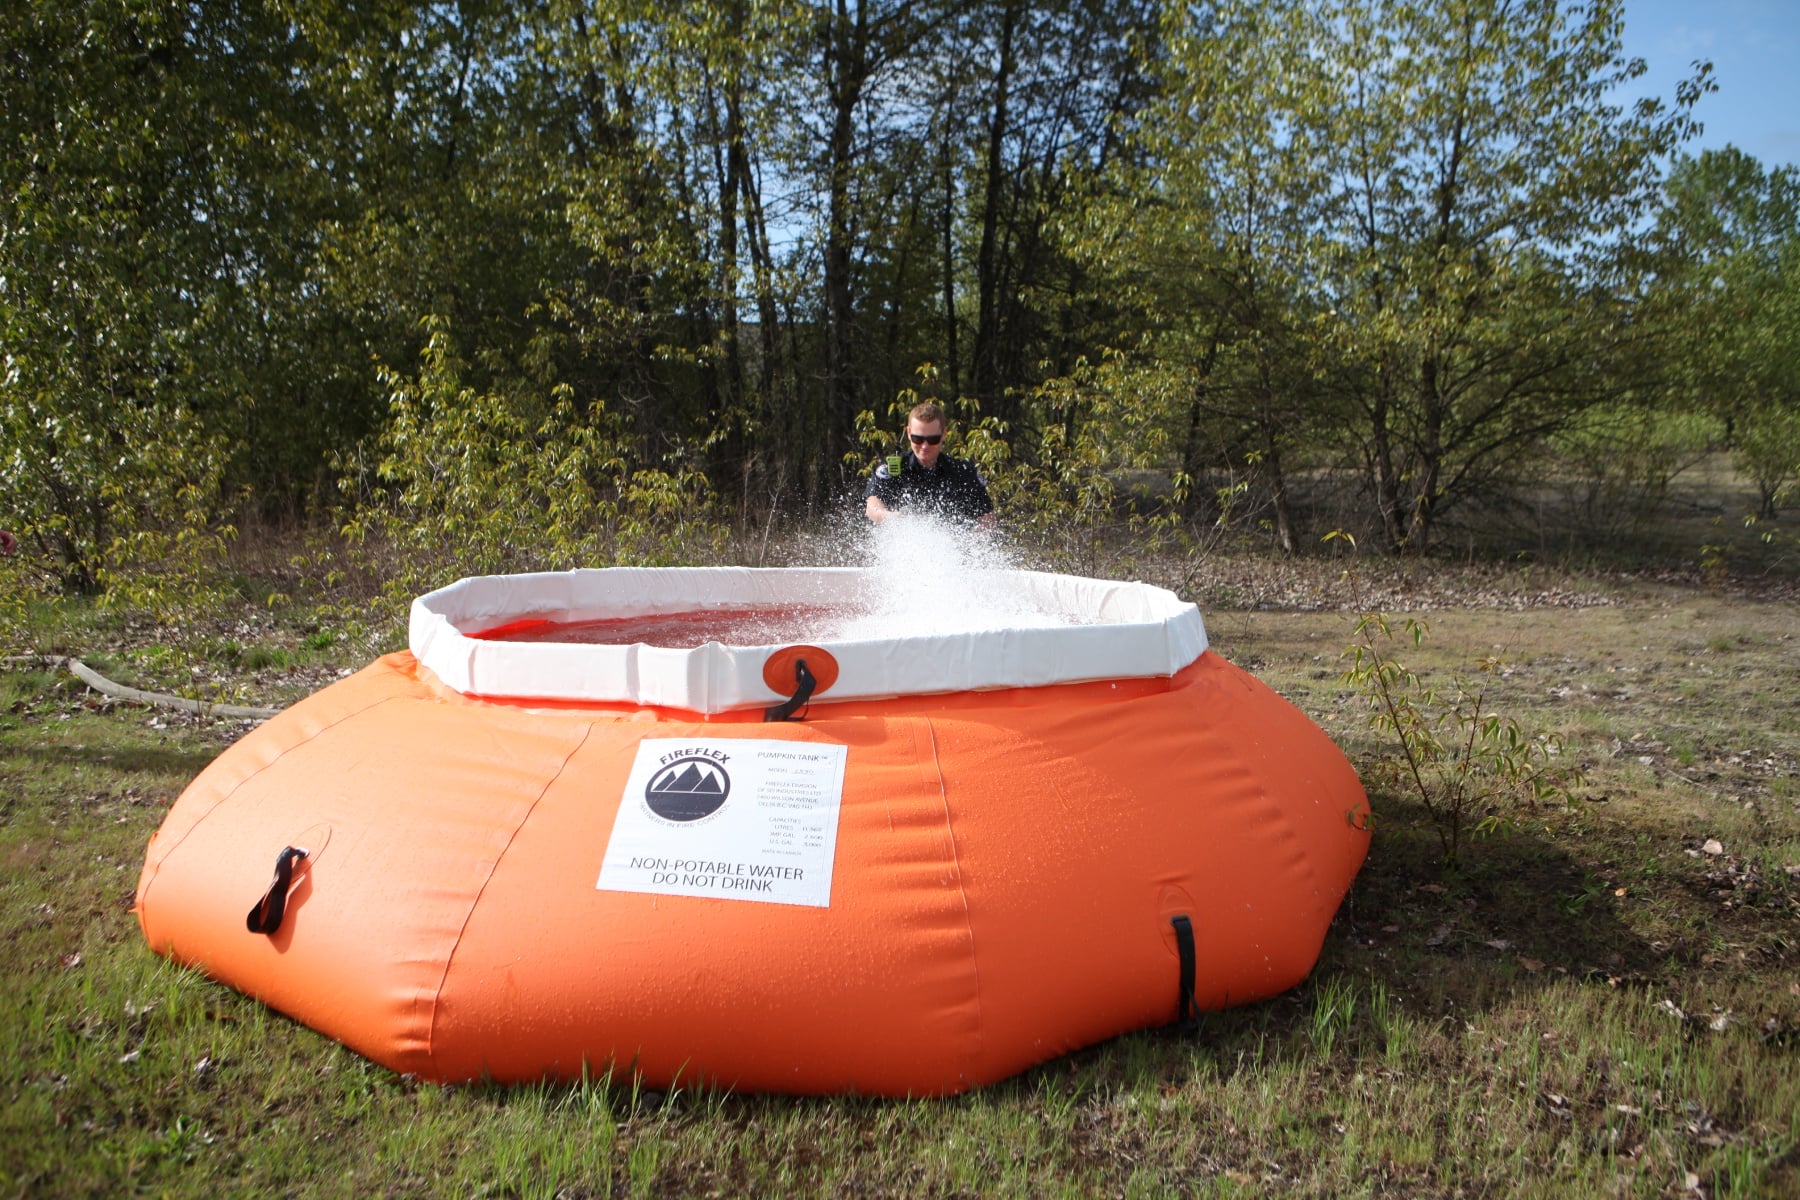
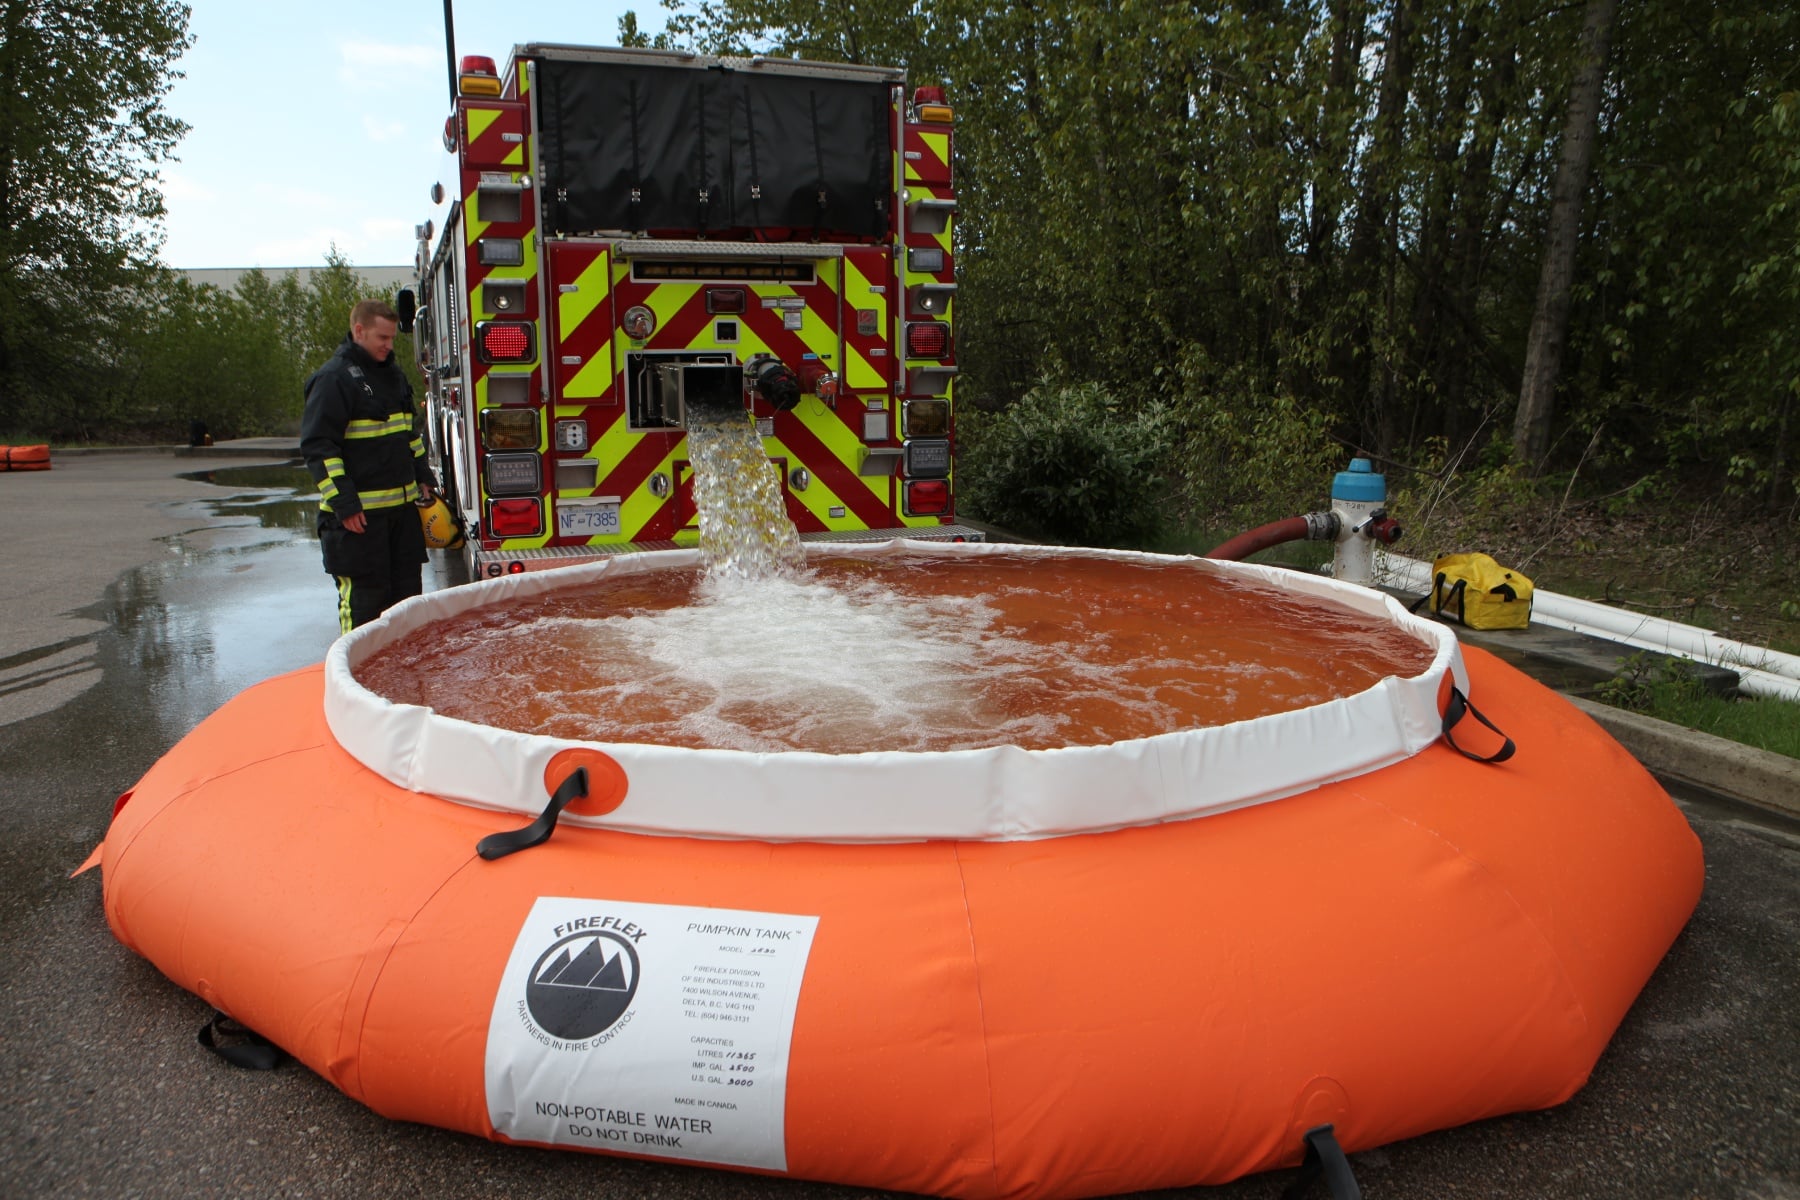
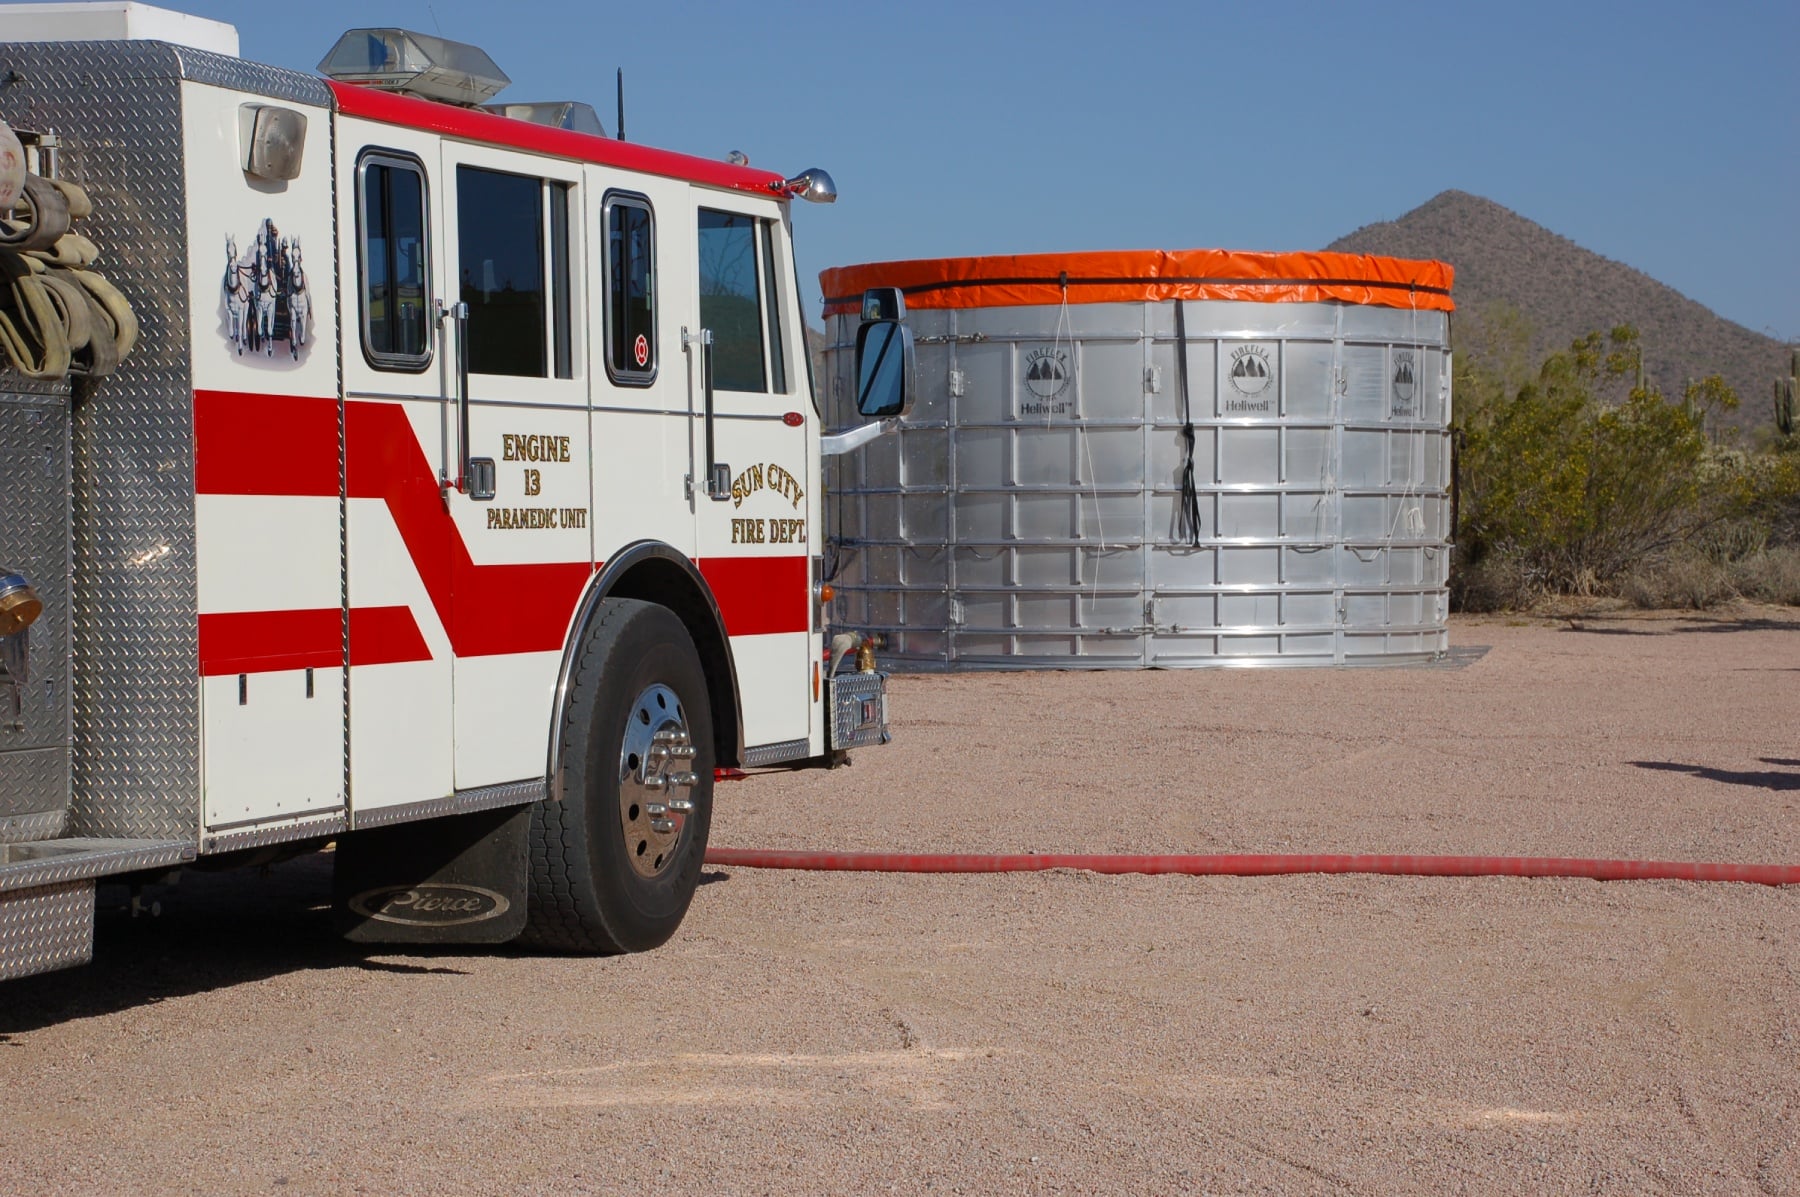
A variety of firefighting tools that are collapsible, easy to transport and quick to set-up.